
Most people assume that brushing and flossing is the gold standard for keeping your teeth and mouth clean and healthy. Although there are individuals who this will be adequate for, the majority of patients, especially those who have been diagnosed with periodontal disease, benefit from other dental tools.
Furthermore many patients are not able to use traditional floss effectively due to physical limitations such as arthritis, injuries, disabilities etc. Below are recommendations on which cleaning tools may be best for you, and their correct use. We hope you find this helpful and welcome any questions you may have. We can also give you personalized demonstrations when you are in our chair!
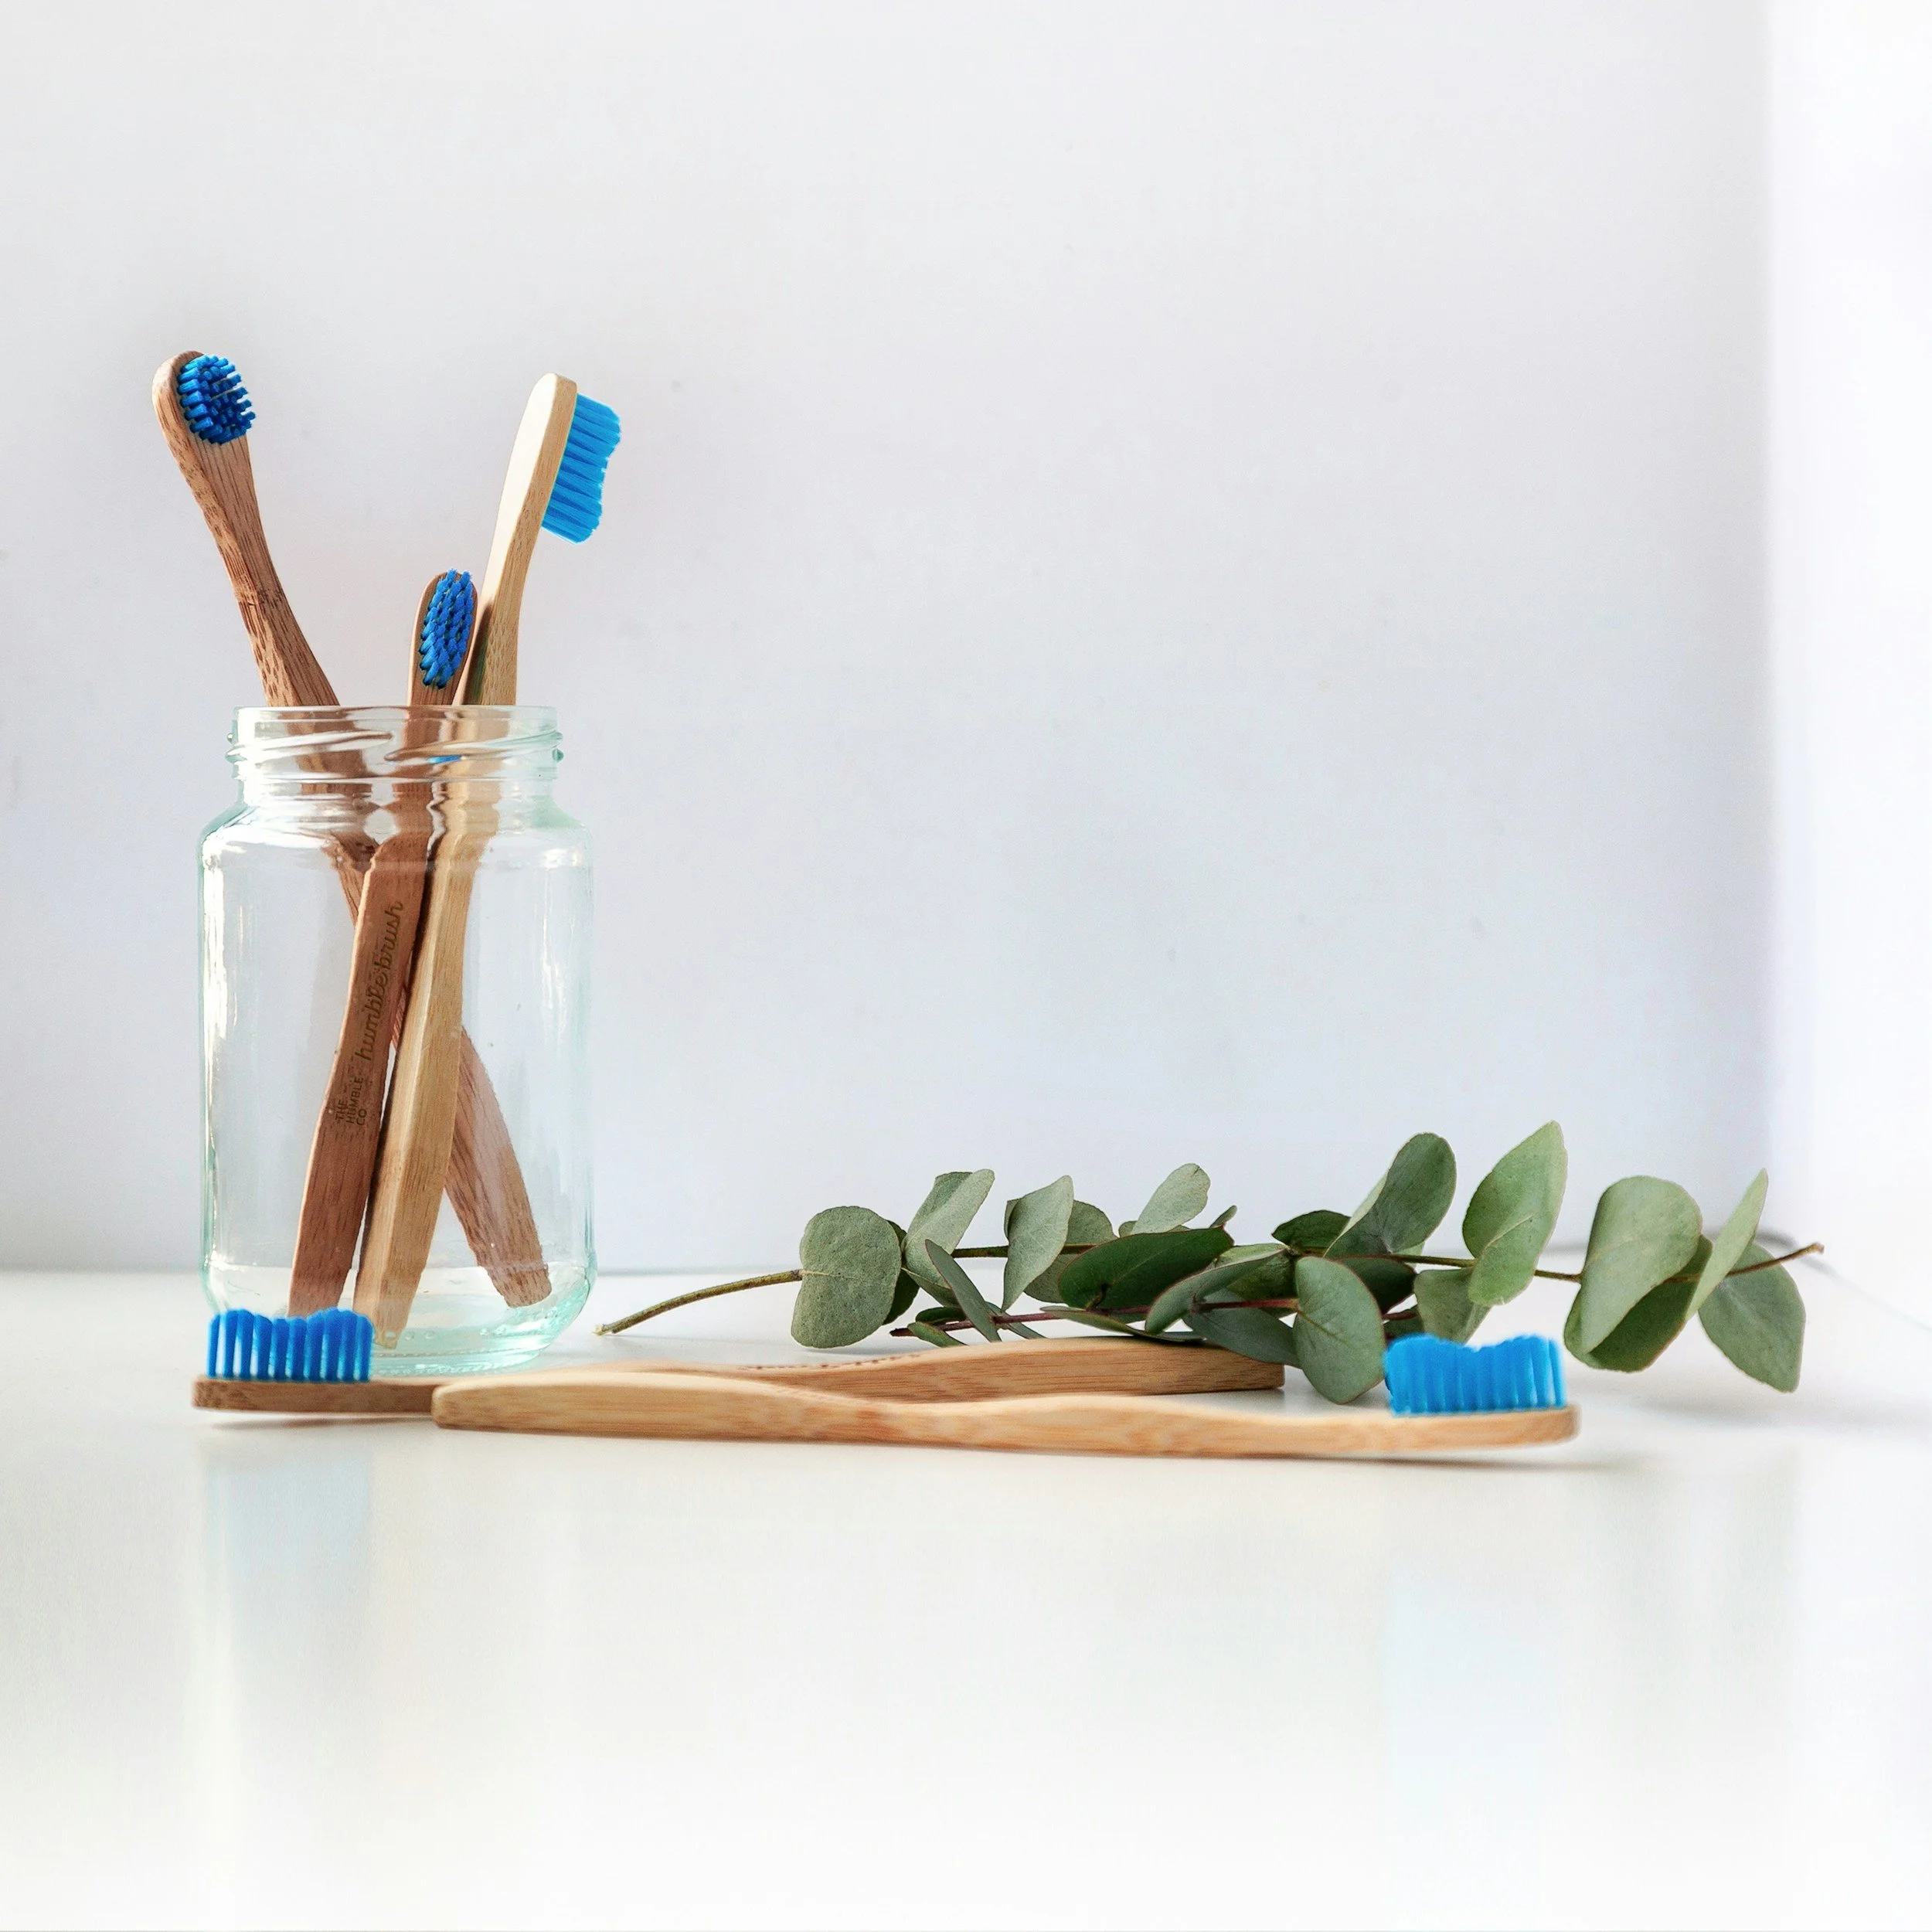
Tooth Brushing
This should be the basis of your homecare and used twice per day for a full 2 minutes each time - once in the morning to remove bacteria that accumulated during the time you were sleeping and once again prior to going to bed to remove bacteria and food, especially sugars which bacteria ‘feed off’. During the night your body will naturally slow down salivary flow which allows bacteria to stick to your teeth, making morning brushing important.
Bacteria form in your mouth each day - the aim of brushing and other adjunctive homecare is to not only remove food, but also the bacteria that cause cavities and drive periodontal disease!
The use of electric toothbrushes (such as Sonicare®, Oral B/Braun®) has significantly increased in the general population over the past several decades and with good reason. Although a manual toothbrush can be effective, there are many studies demonstrating the increase in bacteria removal by using an electric toothbrush. Whichever you choose, it should be soft bristled and used for at least 2 minutes each time, just like a manual toothbrush. We recommend you use a fluoride toothpaste, with low abrasivity - a pea size amount is enough. If you are using a prescription fluoride toothpaste (such as Prevident® or Clinpro®) do not rinse out after use - please read the instructions for your specific toothpaste to ensure it is giving you maximum benefit.
Correct tooth brushing technique
Brush your teeth on the outside, inside and tops of the teeth in a systematic order - this may be starting from the top right of your mouth, working across the outside of the top teeth, and then back on the inside. Do the same for the bottom teeth and then finally brush along the tops of both the upper and lower teeth. Being systematic reduces the chance of being ineffective. Humans are creatures of habit and most of us tend to overclean and underclean the same areas each time we brush if we are not being intentional and forming good oral hygiene habits.
Hold the brush at a 45 degree angle with the bristles aimed between the teeth and gums where plaque often accumulates. Use small, gentle strokes with a back and forth motion, or very small circles if you prefer - DO NOT SCRUB!! The bristles of the toothbrush should be doing the work and aggressive brushing can lead to damage of the gums, as well as cause trauma to the tooth - both the enamel and especially softer root surface (made of dentin) if exposed due to recession. If you are using a Sonicare or ‘horizontal type’ electric brush you should let this do the back and forward (a vibration feel) motion for you. Simply hold the brush at a 45 degree angle into the gumline and hold, then after a few seconds move the brush to the next several teeth. Do not use a back and forth or circular motion with one of these toothbrushes as this decreases its effectiveness. If using a circular electric brush such as an Oral B/Braun®, keep the angle at 45 degrees, with bristles aimed into the gumline and then slowly rotate around each tooth surface–outer and inner.
Regardless of type or brand, you should replace your brush head approximately every 3 months, or sooner if you notice the bristles becoming worn out or ‘bushy’ looking. For patients who notice their brush heads frequently being worn out prior to the 3 months, this is most likely a sign you are using too much pressure.
Flossing
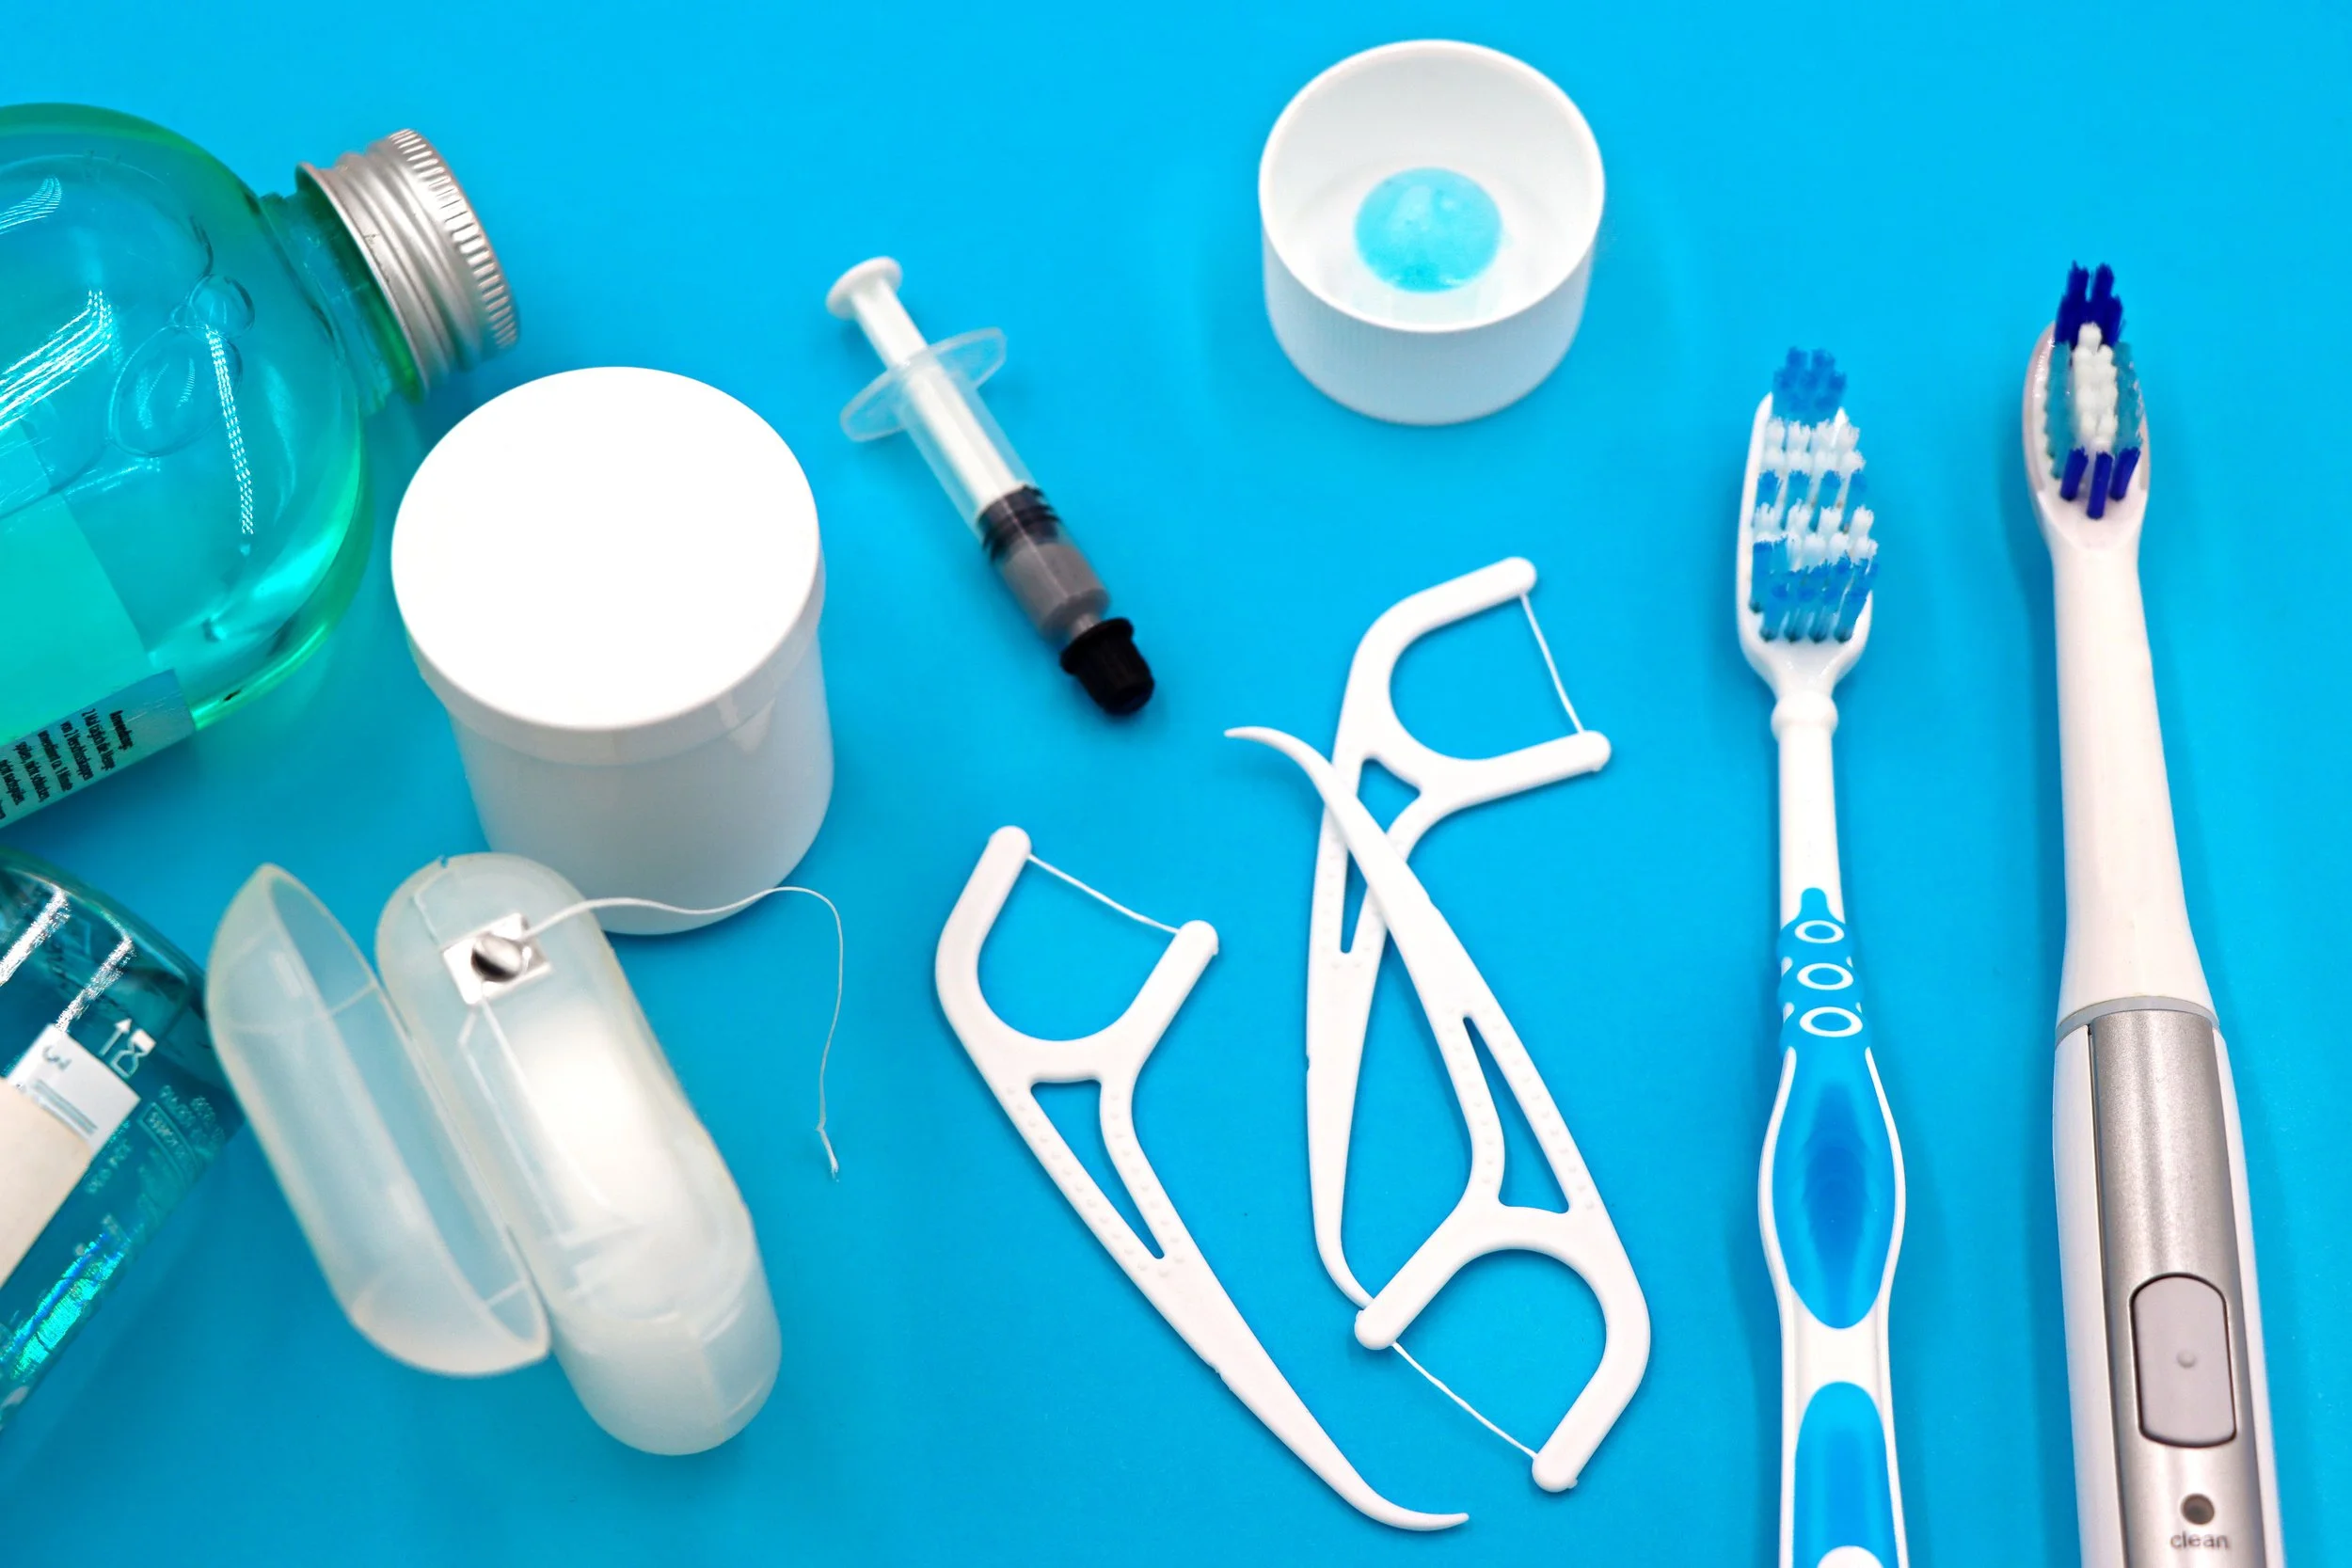
Flossing will disrupt the bacteria between the teeth where they touch each other (called the contact) and along the side of the tooth if the floss is adapted well. There are many types of floss available, with tape or woven floss typically more effective as it has more surface area and some ‘grip’. If your teeth feel too tight together, a string floss may work better. For patients who have difficulty holding or using floss due to physical disabilities such as arthritis, an injury etc, check out water flossing below.
Correct flossing technique
The correct way to floss is by wrapping each end of an approximately 10 inch piece of floss or tape around each of your index fingers, use a see-saw action to move it between teeth (do not ‘snap it’ through) and then use a back and forth/up and down motion on the side of the tooth to gently rub off the plaque. The floss should make a C-shape around the side of the tooth to achieve this.
Flossing is an important tool to use in avoiding cavities where teeth contact and removing bacteria and food from in between teeth. As teeth can have anatomical features in them such as furcations, concavities, or restorative margins that are present from filling and crowns, floss tends to ‘skip’ over many of these areas and we typically recommend other adjunct tools to incorporate into your routine.
Tools such as interdental brushes or water flossers can be extremely effective in reaching these areas and provide a more thorough removal of dental plaque/bacteria.
Water flossing
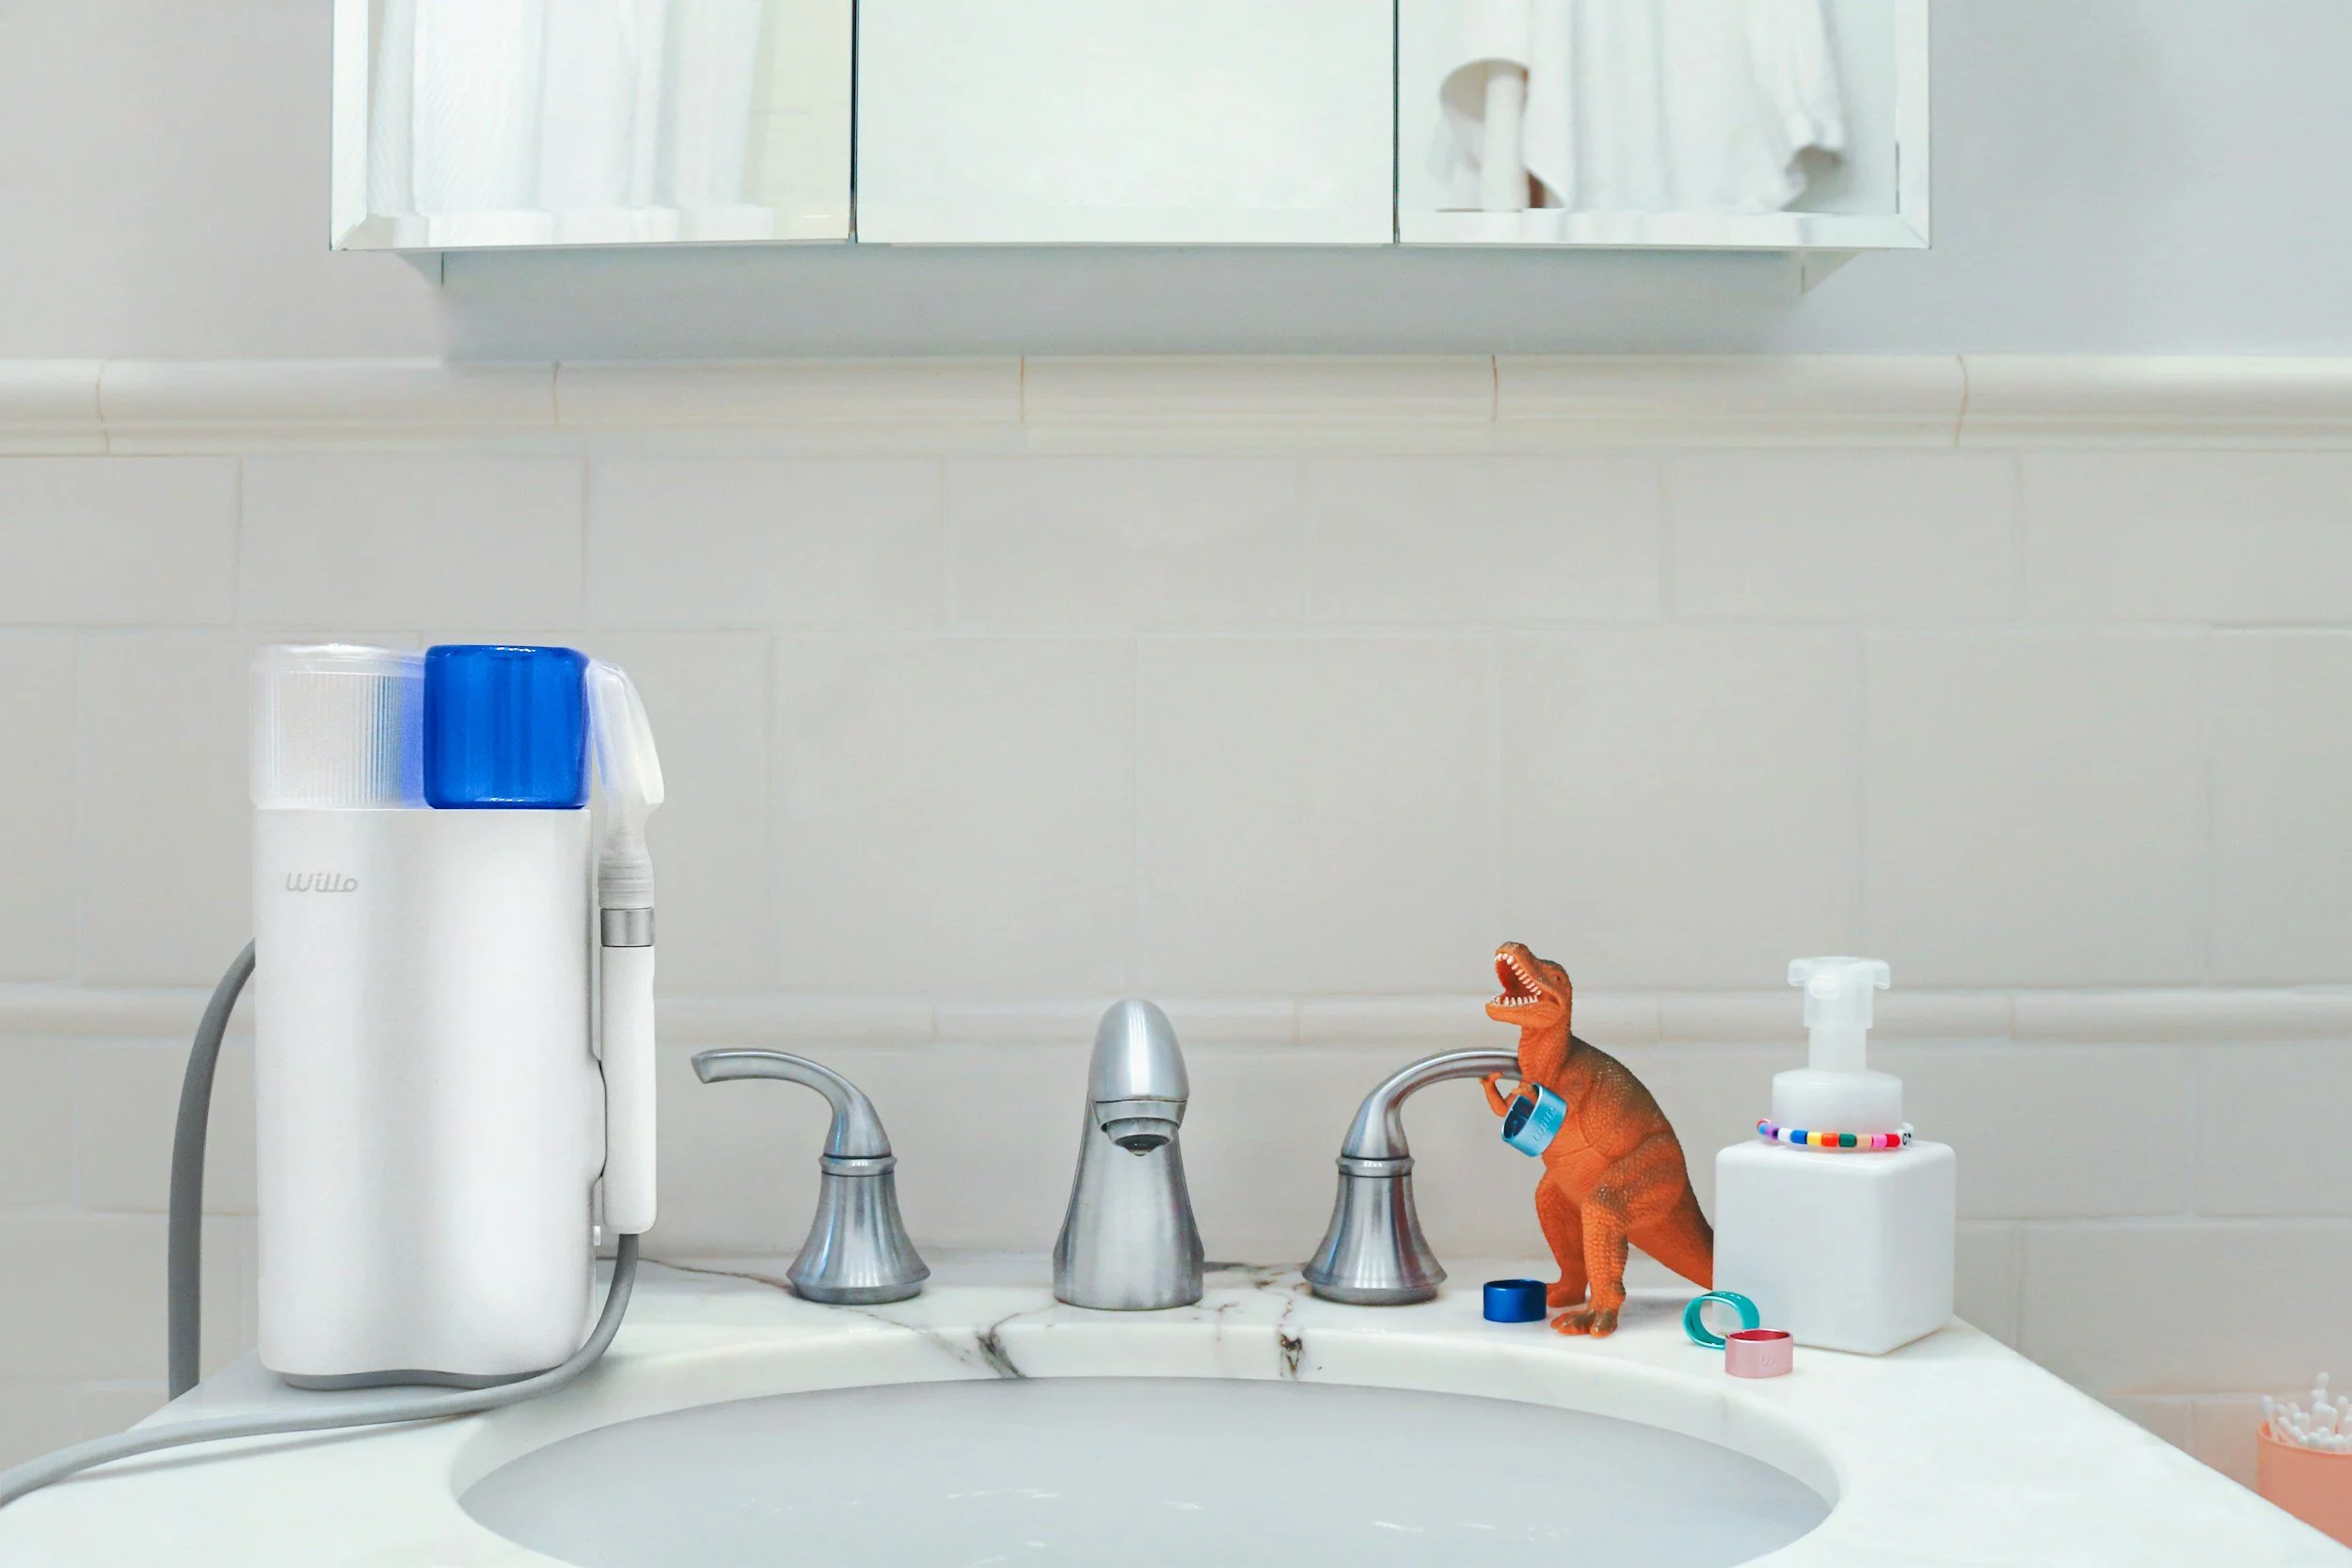
We are big fans of water flossing in our office! It is a highly effective, gentle and thorough way to remove plaque (bacteria) and food from tooth surfaces, all the ‘nooks and crannies within tooth/root surfaces) and around dental implants - if used correctly! It can also be a great alternative for people unable to hold or use floss due to physical limitations. It is also a fantastic tool if you are in orthodontic hardware, such as braces etc.
There are many different types of water flossers on the market, including counter top units and portable models. It is important to note that portable models have a smaller tank and will need to be refilled during use - we recommend 3 tanks per cleaning on a model such as or similar to the Water pik® portable version. Some of these models are water proof (such as the Water pik Advanced Portable ™ ) and can be used in the shower. Keep a plastic cup in your shower to make refilling simple and fast. Counter top units have a larger tank which is suitable for one complete cleaning .
Use warm water and a comfortable power setting- it is best to start on a lower setting and increase the power gradually. Gums can be tender and sensitive if inflamed or immediately following scaling & root planing. Many patients find that as their periodontal health improves following periodontal treatment, regular maintenance and improved homecare, the power setting can be comfortably increased. The goal is to irrigate - not blast!
Correct water flossing technique
Hold the tip of the water flosser at right angles to your teeth, just below the gumline and trace your gumline slowly. You do not need to angle the tip under the gumline - the pressure of the water, even on a lower setting, will force the water underneath your gums to remove food and bacteria. Once you get into the space between your teeth, rotate the tip slowly, allowing the water to rinse the sides of the teeth effectively. As with brushing, you should use a systematic approach and cover both the outside and inside of tooth surfaces. Use the water flosser over your sink (or in the shower if you have a waterproof portable version), allowing the water to run out of your mouth.
As with most things in life, there is a learning curve to using this tool—give yourself a couple of weeks of daily use and you will soon be a pro!
Interdental Brushes
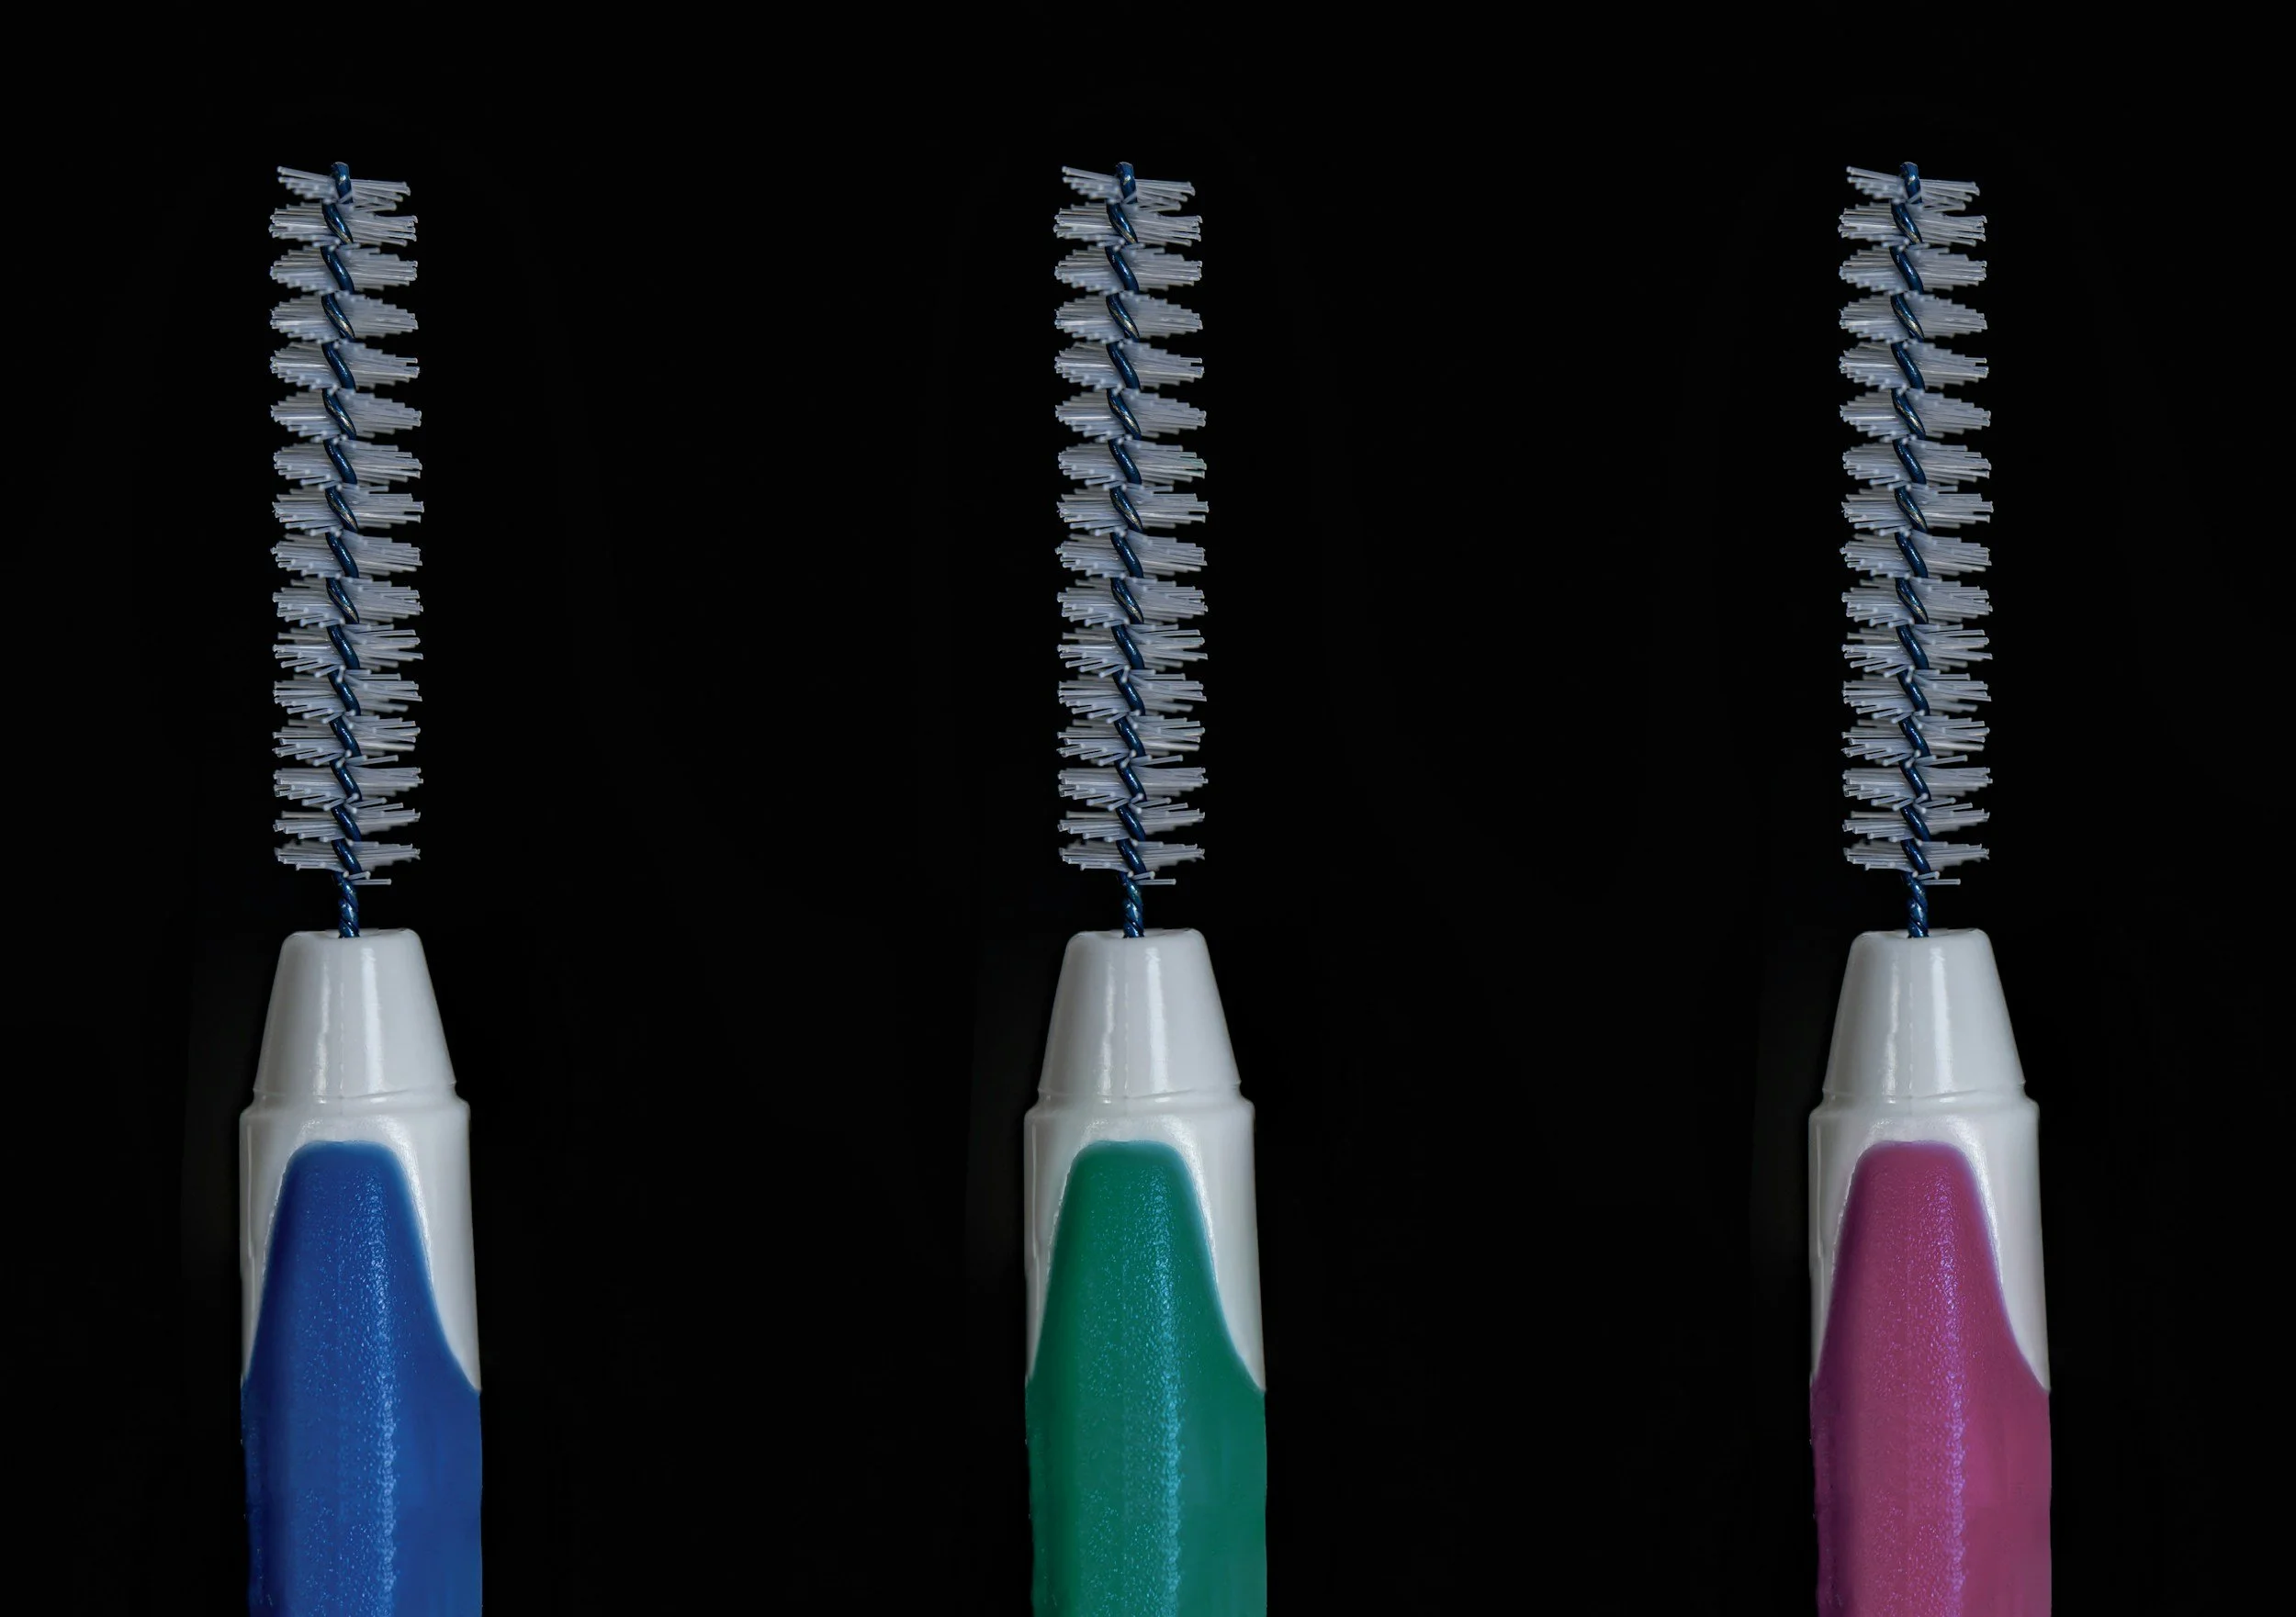
These are used between the teeth and are effective for removing food and plaque between teeth and cleaning the sides of the teeth, especially if anatomical features such as concavities are present. They come in a variety of sizes — you should use the largest size that will fit, without force. They can be travel size (short handle) or snap into the end of a long handle if access in the back teeth is more difficult. Interdental brushes can be made from nylon, silicon or flexible elastomers and are safe to use around dental implants. Be gentle and do not scrape the middle part (made of metal) against implant or porcelain surfaces.
Correct interdental brushing technique
Direct the brush, from the outside only, between the teeth with a back and forth motion. Do not try to angle the interdental brush into pockets as this can cause trauma to gum tissue and the delicate fibers that hold the gum to the tooth’s root surface. Many of the interdental brushes can be rinsed and re-used (like a toothbrush) and some are disposable - check the particular brand you are using.